Discus Throw – Performance Techniques
As of now, you have understood clearly that discus throw demands extreme physical strength and core stability. Hence it is better for you to know some basic exercises and drills which can prepare you with stamina and increase your endurance. These exercises also will help you in getting a good grip over this game.
We will discuss some of the important exercises in this chapter.
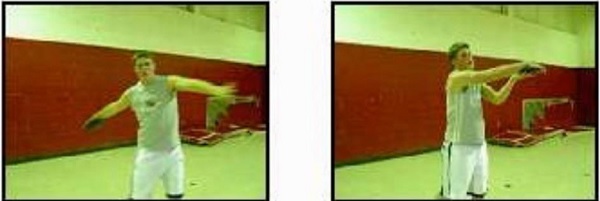
Arm Swinging
Discus throw is all about the proper use of centrifugal force. This drill will make you understand about this force in a better way. Below are the step by step instructions.
-
Stand on the ground with your feet wide apart.
-
Hold the discus in your right hand.
-
Now by doing back and forth motion of your shoulders, swing the discus from your left hand and try to catch it in your right hand.
-
The feeling of pushing out on the hand should come while doing so.

Discus Bowling
Proper release of the discus is very important. Hence you need to learn a small drill that will help you tackling this more quickly. Go throw the step by step instructions given below.
-
Align the discus properly in your palm.
-
Ask one of your partners to stand at a distance of 15 meters from you.
-
Bowl the discus towards him.
-
Make sure the discus will not wobble while releasing.
-
Squeeze the discus such that it will roll out of your index finger.
-
Once you get the proficiency over a width of 15 meters, increase the distance between you and your partner.
-
Practice more.

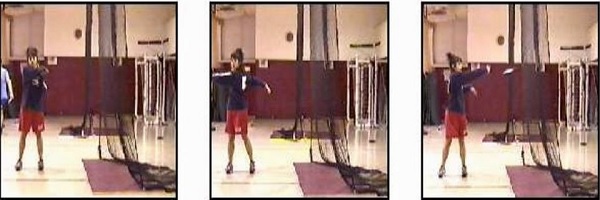
Throws Related to Height
Practice this drill to have a good release of discus with a sufficient height. Go through the step by step procedure given below.
- Stand with distance in legs.
- Relax your shoulders wide.
- Hold the discus in the throwing hand.

- Swing the discus twice in a forward-back manner next to your body.
- Remember to squeeze it out properly.
- Position your throwing arm straight.
- After one and a half or two swings, throw the discus up in the air.
Skip Throws
This is also another drill to enhance the discus release techniques. Follow the simple steps described below.
- Stand with your legs and shoulders wide apart.
- Position yourself vertical to the throwing direction.
- Place the discus in your throwing hand.
- Swing the discus in a forward-back manner next to your body.
- Squeeze the discus properly.
- Position the throwing palm flat.
- Throw the discus up in the air.

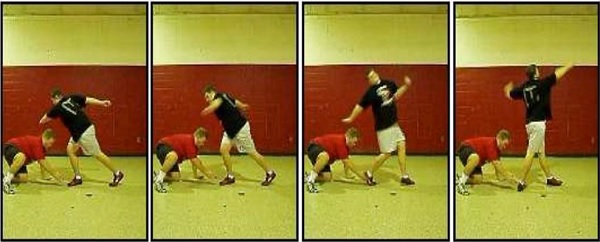
Heel Turns with Partner
Throwing action is accompanied by the turning action of hips. So, a little bit exercise of this type will ensure good motion of hips. Below are the step by step instructions.
-
Get into the power position without holding a discus.
-
Tell one of your partners to hold the right heel of yours.
-
Ask your partner to make artificial movement of your heel with his hand.
-
Try to smack and drive in the direction of movement of your partner’s hand.
-
You can add a surgical tube to add more resistance.

Reverse 180’s
The player should also be trained for the throwing from the middle of the center. This drill has been designed to practice pivoting yourself at the center of the ring. Follow the below steps.
-
Start your throw with the help of your right foot in the middle of the ring.
-
Try to bring both your knees together by picking up your left foot and by making a 180 degree rotation.
-
During this process, make sure that the turning of your right foot continues.

Safety Measures in Discus Throw
Although the game looks simple, it needs many safety measures on the field. This is because any slight carelessness can hamper a great injury to both player and the spectators. For this reason it is often played in a semi closed encasement.
Some important safety measures that should be followed during the play are −
-
During performance all the retrievers and officials should not turn their back to the area of playing.
-
Soon after bringing the discus to the athletics field, the retrievers should walk backward or on the side of their head.
-
Officials and judges should always stand at the back side of the net.
-
The ground should be clear from any foreign objects or bumps.
-
Landing sector must be clear.
-
The ground should be inspected for wet and slippery patches.
