Freestyle Skiing – Basics
Till now we have understood the basic mechanics of Freestyle Skiing. Now it’s time to learn about the step by step procedure on how to ski.
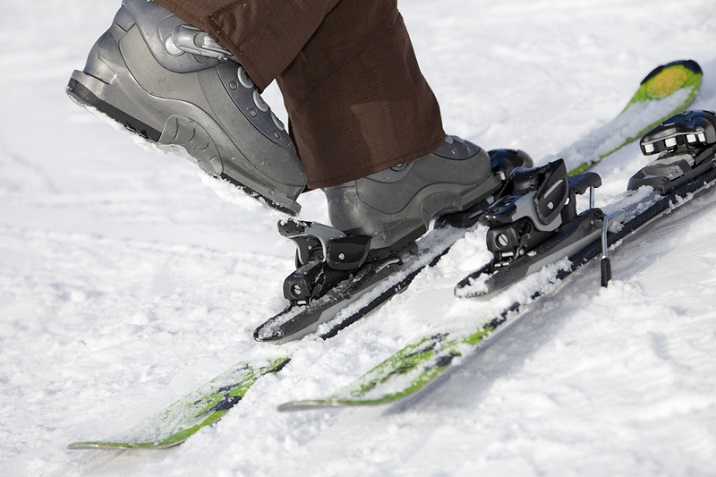
Putting on Skis
This is one of the initial stage that most of the beginners struggle about. Initially, put your boot into the binding. Make sure that the leaning angle of your boot and the ski must be same. On the front of the binding, slide the lip of the binding into the toe cup of the boot.
Then you should align the heel of the boot along with the back of the binding and bring it down into the heel cup. To tighten the binding clips over your leg, push the heel as much as you can into the heel cup. Once you put on the skis, make sure of the following particulars −
-
The Ski should be lying along with the slope.
-
Without sliding anywhere, stand sideways.
-
Remove any foreign snow particle that is present at the bottom of the ski boot.
Putting off Skis
First of all, make sure that you are standing in a steady position of the ski without moving sideways. On the back of the binding, there is a heel lever. Push it down with the ski pole while dismounting yourself from the heel of the boot.
Then upward rotation of the heel cup takes place that results in releasing of the heel of the ski boot. Now it will be easy for you to take out your boot. Try the same with other boot too.
Snowplough
This is a method of travelling in a straight line on a slope where we can have control over our speed but not on the direction. To make a snowplough, align your skis in a Vshape in such a manner that the tips of the skis remain at a distance of 10 cms at least. The aim of this position is to obstruct the two skis from hitting each other or running over each other.
This type of a position acts as brake while travelling. The more distance apart the tip of the skis will be, the more will be the braking action with stable maintenance of the body.
Here technically we are moving in a straight line path, but your skis are aligned in a diagonal manner which in turn will create resistance and will result in a braking action.
Snowplough Turns
In the above section, we have discussed about the snowplough to learn about the speed control. Now we will discuss about the snowplough that will let us know the changing direction methodology.
We have to position the skis in a V shape again that too in such a manner that the right skis will try to go to the left side and vice versa. Distribute the weight of your body evenly on the skis and try to align more towards that ski that you want to make a turn.
This is because more weight on a ski will create a low resistance path below that and you can travel very easily making a turn. The basic formula is that, if you want to turn right, then apply more weight on left and if you want to turn left apply more weight on right.
Getting Up
If you have fallen back and want to rise up, then bring yourself to the side of the skis. Bring yourself as much close to the skis as you can and then pushing on your knees try to stand up and for this bring the weight on the forward ski boots.
Position of your downhill arm should be diagonally down and over the ski boot and your uphill arm should be close as much as possible to the uphill ski. Pushing should be done with the uphill arm so that you will be able to stand back again over the skis. During this time, the downhill arm should be in a crouched position.
